We all need art and pictures for that finishing touch, to add interest and create visual balance to a room. For me, art and pictures are like earrings for women – you need them to complete the look. And you cannot just pick any place and hope for the best, you have to think it thru. Placement and how high are crucial. I have rounded up a few clever tips and hacks to hang pictures and art on walls.
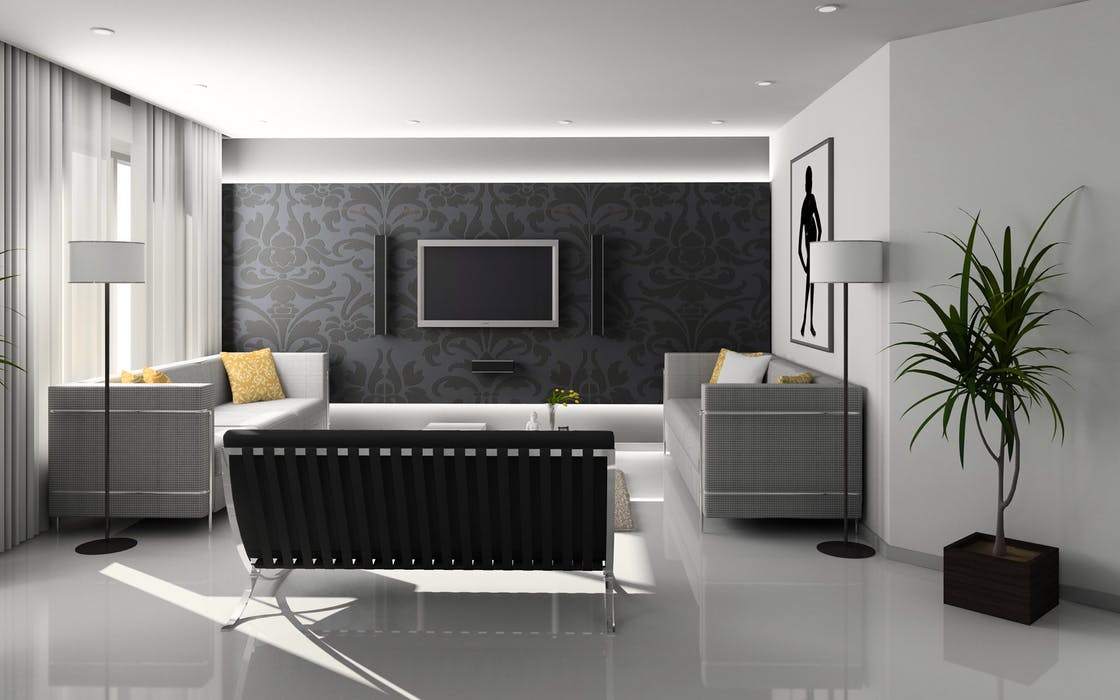
In a living room for instance, the art should be fairly low, as we are usually sitting. But you can hang it about a hands width above the sofa.
We have all been there. Art or pictures on the wall that is supposed to look gorgeous, but instead, it is the opposite. Sore fingers, not looking balanced at all, skew or too high. Well, if this sounds familiar, you are at the right place – maybe you can make use of a few clever hacks to hang pictures and art on walls. And it is going to look gorgeous and classy. Just right.
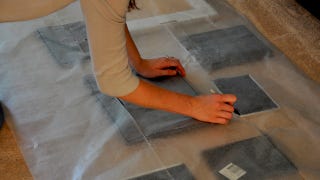
1. Lay a group of pictures on wax paper:
This looks super easy and quick. You can start by laying out the frames on the ground and arrange them as you would hang them on the wall. The next step is to turn them over and place a large sheet of wax paper over them. Start by tracing the outline of each picture frame on the wax paper. Then tape the wax paper to the wall – now you can see exactly where the pictures would hang. Hammer in your nails and ta-da …… you can hang your pictures with confidence.

Found from: lifehacker
2. The 3 most common design mistakes when hanging art:
a) Eye level is best. According to source, it’s best to hang single artwork at eye level and 60 inches from center to the floor. A quick tip: If hung above a sofa or console, the piece should be approximately 2/3 width of the furniture. Remember to always consider the scale of your space and furniture.
b) A Group of art pieces, should be treated as one piece – do not space them to far apart, as they would look detached.
c) Planning a grid gallery wall can be difficult but you can use art and prints which is almost identical. Just get the spacing right.
Found from: mcgee
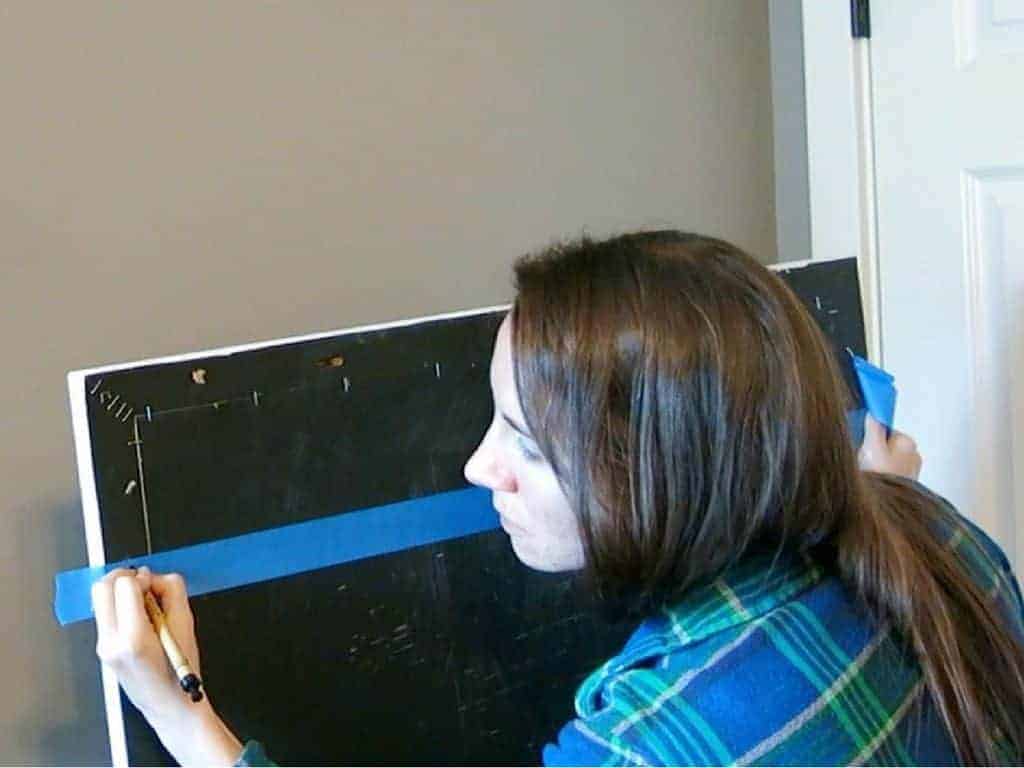
3. Tape it out: Never thought of this one
This is such an easy and simple solution to quickly hang something on the wall. Really, just apply painters tape at the back of your picture – mark the holes. Apply that same tape on the wall using a Level to guide you. Now drill the holes or hammer in the nails!

Found from: makingmanzanita
4. Art hanging mistakes and their solutions
a) Placing the picture too high above the sofa – it just feels disconnected and not in balance with the room or furniture.
b)Using very small and very big pieces together can be a bit confusing. Rather keep art proportional to each other and the furniture.
c) Spacing in between art is crucial.

Found from: purewow
I hope that I have inspired you with a few clever tips and hacks to hang art and pictures on walls and not be scared of the outcome. Please leave a comment if you have more ideas and tips to hang art and pictures in your house.


